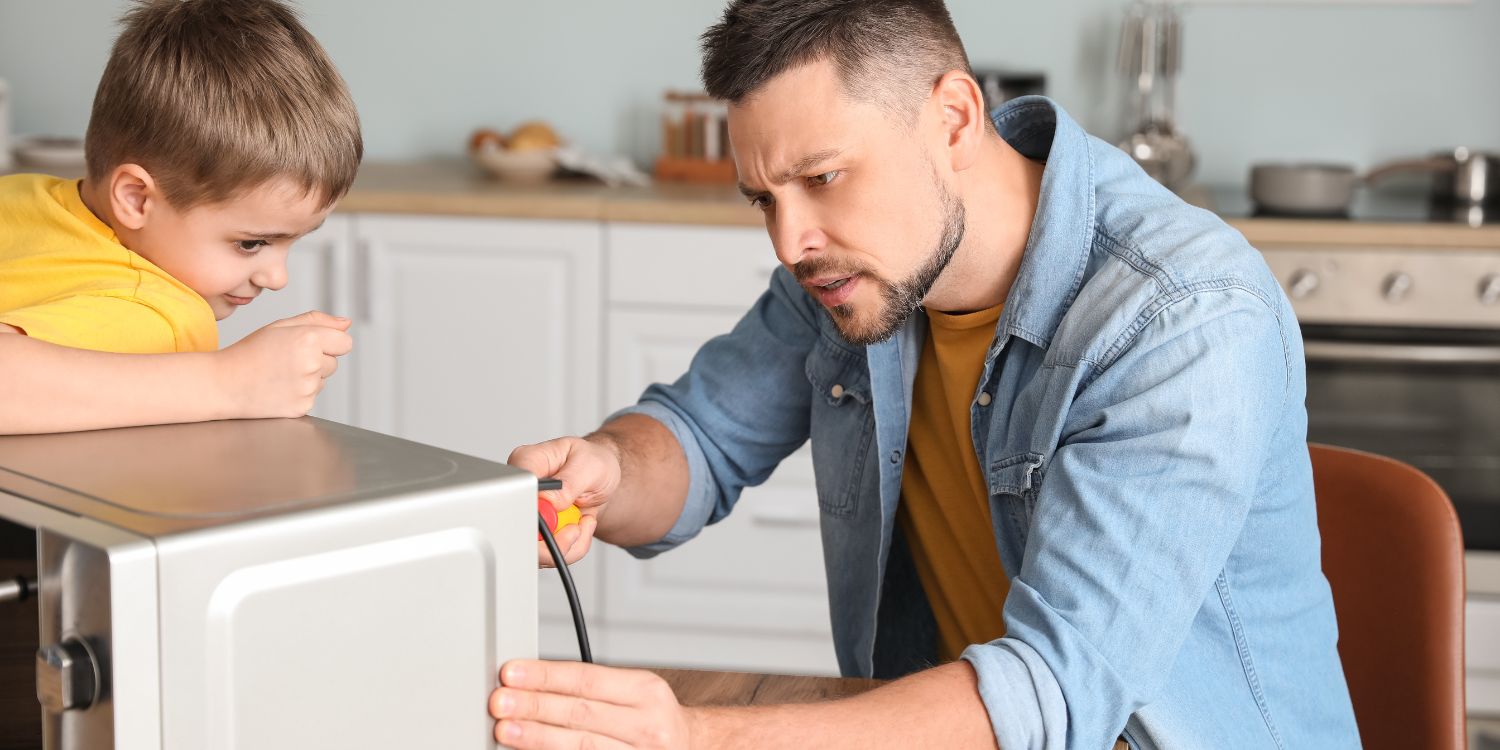
Solving common microwave issues can be simple with the right tools and knowledge. Anyone can tackle one of the most prevalent problems with microwaves using a screwdriver, step stool, star driver, and a replacement microwave door switch. This appliance is crucial, serving as the go-to appliance for countless families. So what exactly is this common issue with microwaves?
Fixing a Simple Microwave Problem
The common problem with most damaged microwaves involves a broken door switch. It leads to the disposal of many otherwise functional appliances. If a microwave is starting, turning the turntable, and displaying the countdown but failing to produce heat, that is a clear indication that the door switch has to be replaced. So, how do you do it?
Turning off the power is the first step. The microwave needs to be unplugged, and the upper plastic vent covering the screws has to be removed. Standing on a step stool, remove the head screws above the door and lift the vent away. If the plastic vent isn’t blocking the screw holding the control panel, skip this step.
Disassembling the Microwave
To disassemble the microwave, begin by unscrewing the top-right head screw on the control panel and lifting it back. Photograph the wire connections for reference. Pinch and detach the wire connectors, allowing the control panel to hang by the green wire. Optionally, remove the control panel backing by undoing the screws and disconnecting the wires.
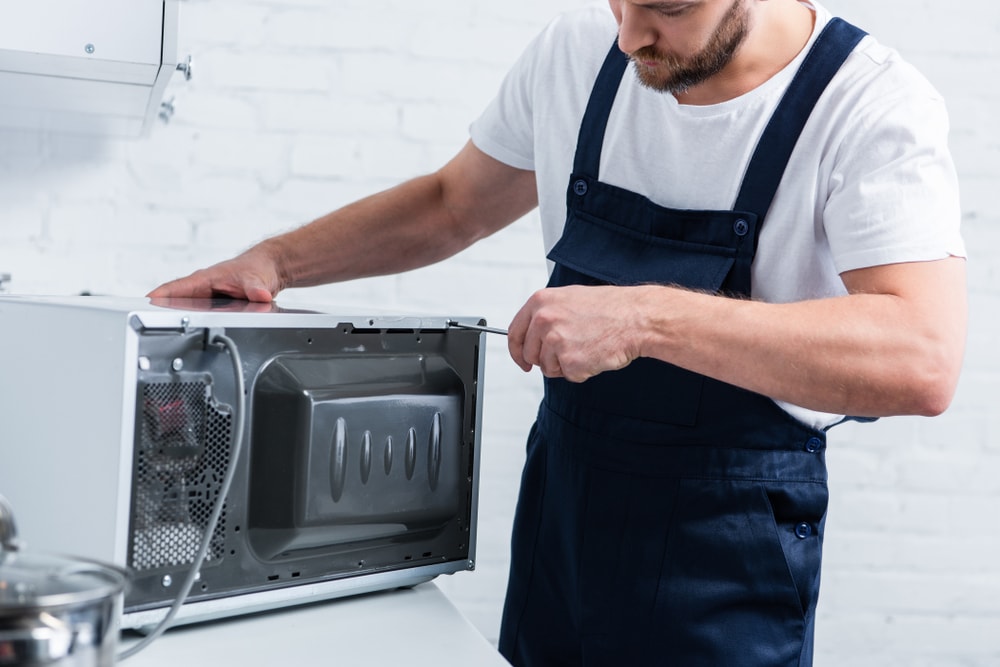
The next step is removing the faulty door switch. Unscrew the star screw, release the door switch housing with a flat-blade screwdriver, and pry the old door switch from its housing. Remove the two wires.
Assemble Everything Carefully
Now, it is time to install the new door switch. Attach the wires, align the plastic pins, push down until it clicks, and tighten the star screw. For microwaves with a plastic backing, reattach it and add screws. Reattach the control panel by securing all wires, pushing it against the frame, and reinstalling the head screw. If needed, reinstall the left-side plastic vent.
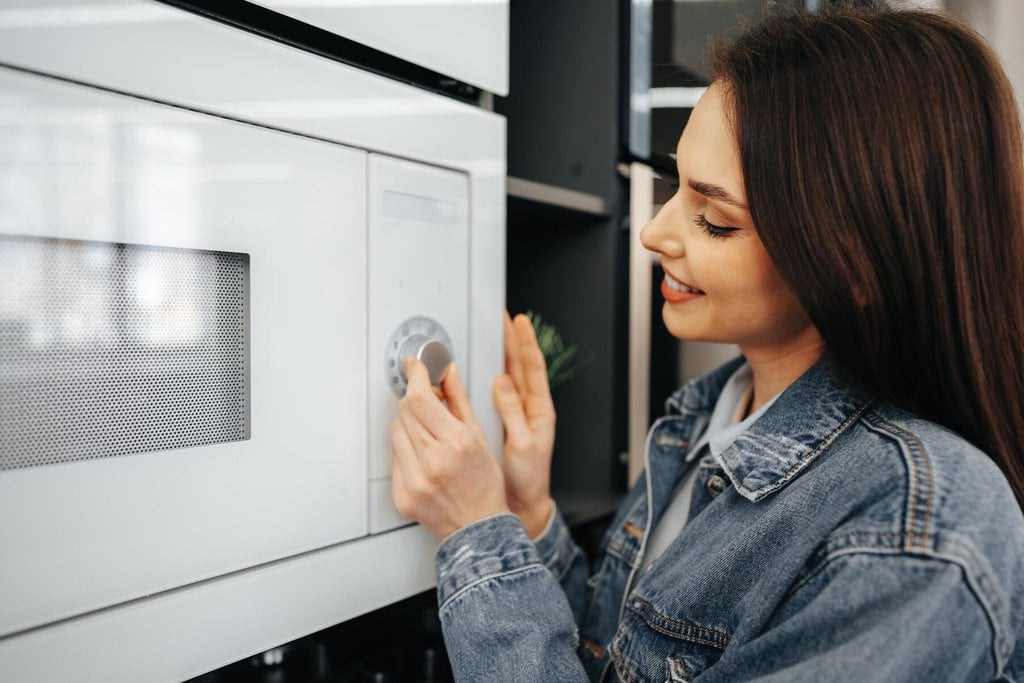
Restore power by plugging in the microwave. Enter the current time and press start to reset the display. The final step is testing the microwave by heating water for a minute. In over 90% of cases, this resolves the issue. You should seek professional help for bigger repairs if this doesn’t fix the problem.
Keep Succulents Looking Their Best Through Proper Care
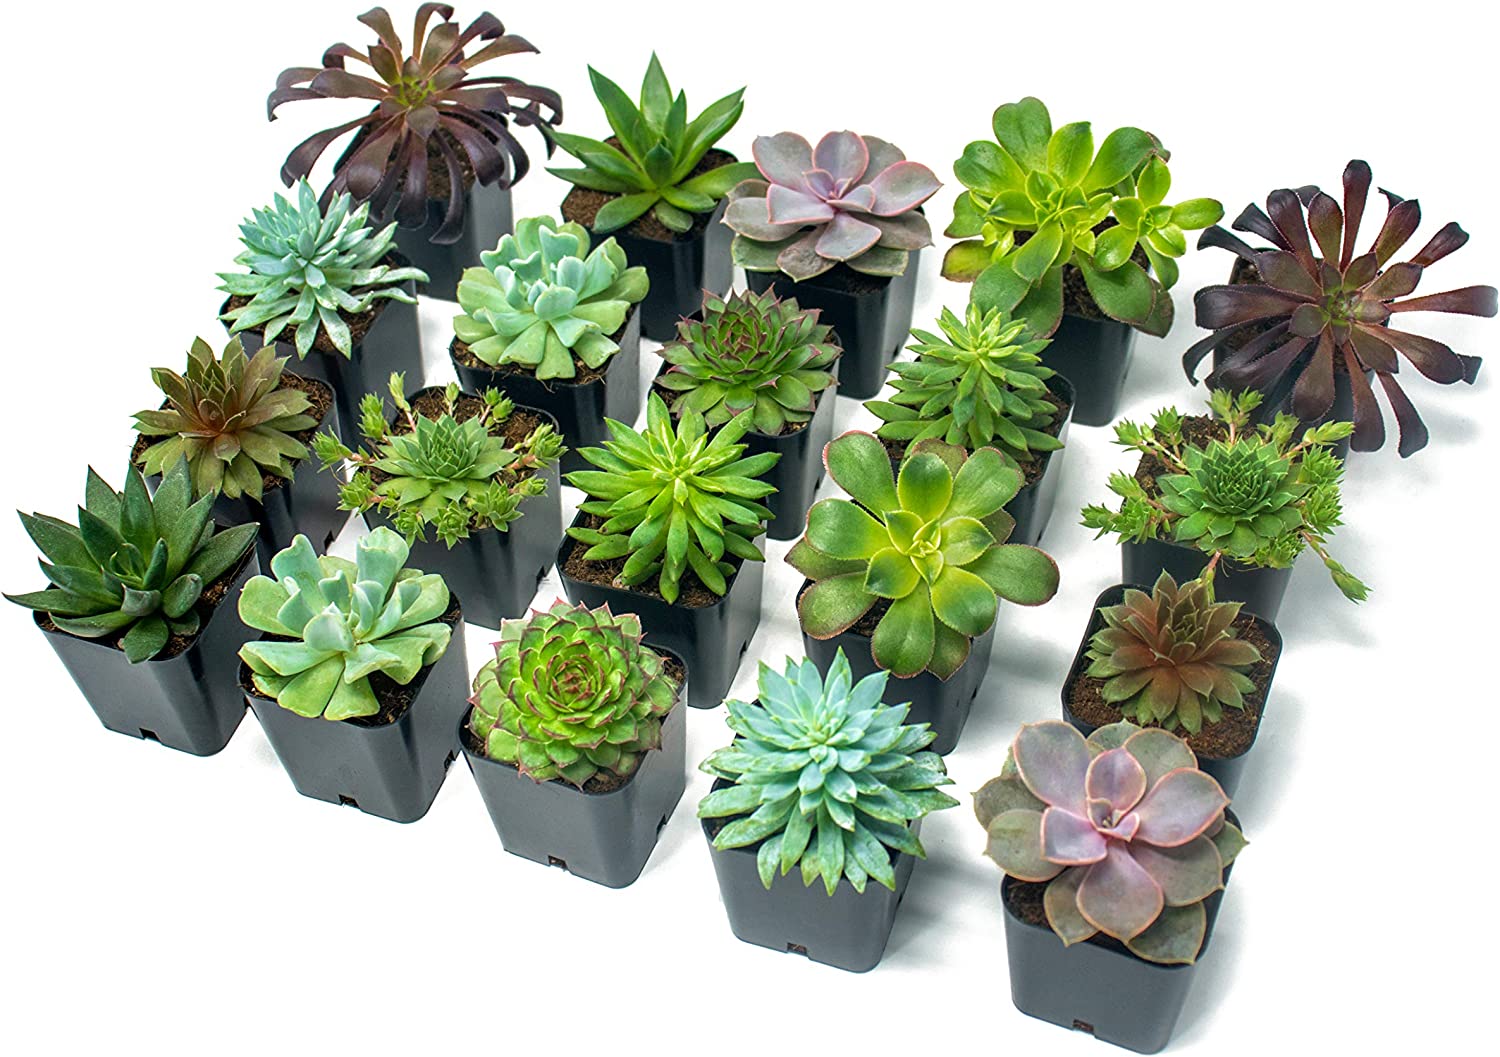
Succulents are very low-maintenance plants that can find a place in interiors and gardens alike. They make stunning home decor because of their natural beauty and endless varieties. Given that they can take a lot of neglect, they’re considered to be a great plant for beginners, but even so, it’s possible to accidentally cause a succulent to dry out and perish. There are a few care tips that can help your new succulent thrive!
Different Kinds of Succulents
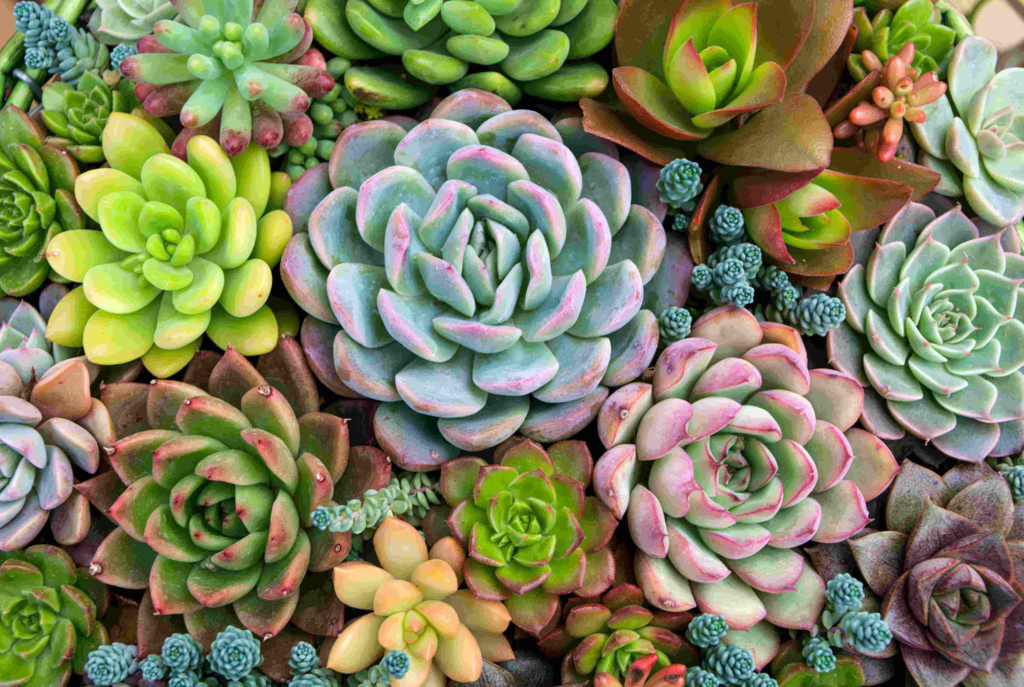
This type of plant comes in many amazing varieties. There are Cactaceae that fall within the succulent family but don’t have leaves. Aloe is also a succulent that produces a skin-soothing gel and there are over 300 species of it. Agave is similar to aloe but tends to be spinier and larger. Echeveria is the typical rose-shaped, waxy-leaved plant most people think of when they hear the word succulent. They’re often bread for their amazing flowers and colorful leaves.
Provide Light and Warmth
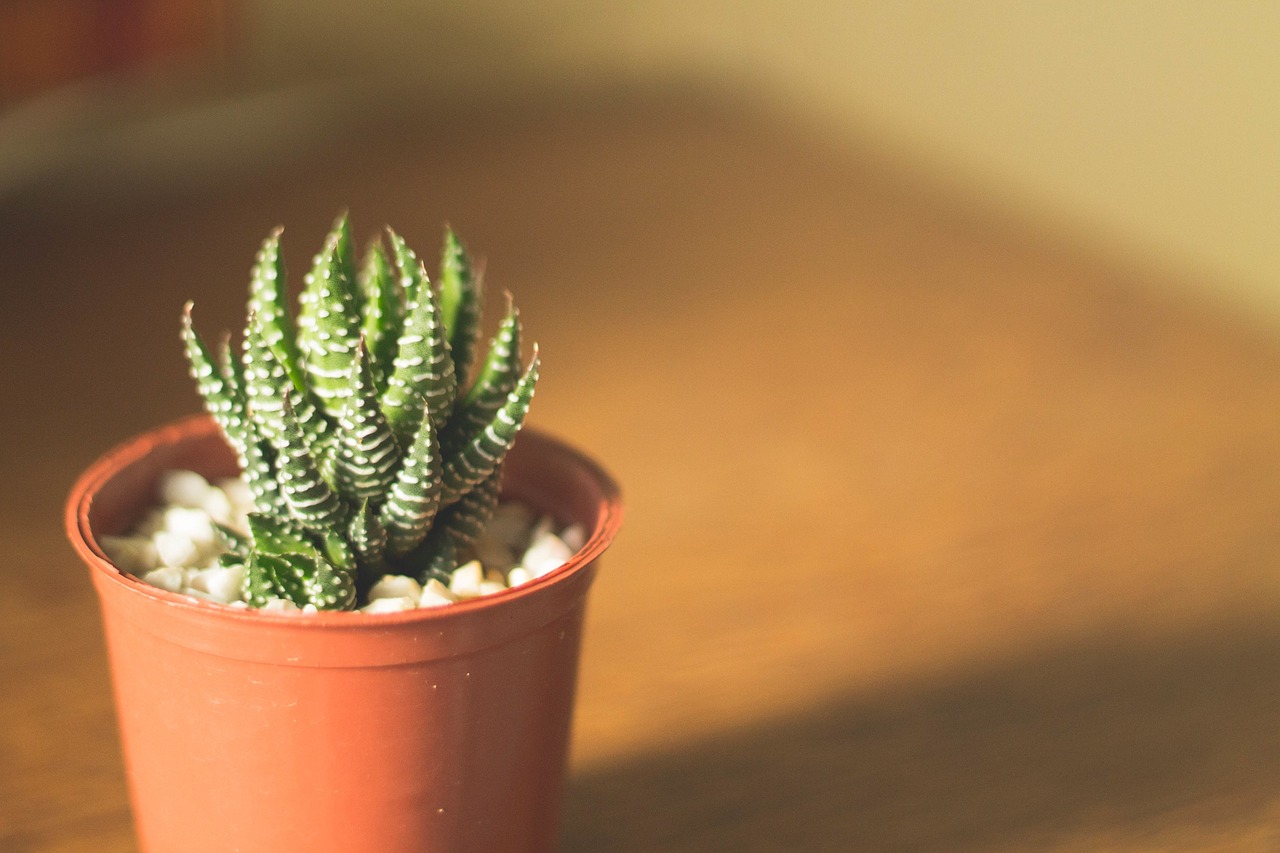
The main thing your succulents will need is a lot of light, as they come from environments with plenty of sunlight. Most varieties need more than six hours of sunlight daily so it’s good to place them in a south or west-facing window. If a succulent is placed in low-light conditions, they tend to flatten and stretch out in search of light. Native to hot climates, these plants prefer higher temperatures (between 40-80 degrees Fahrenheit) and lower humidity (between 40-60 percent).
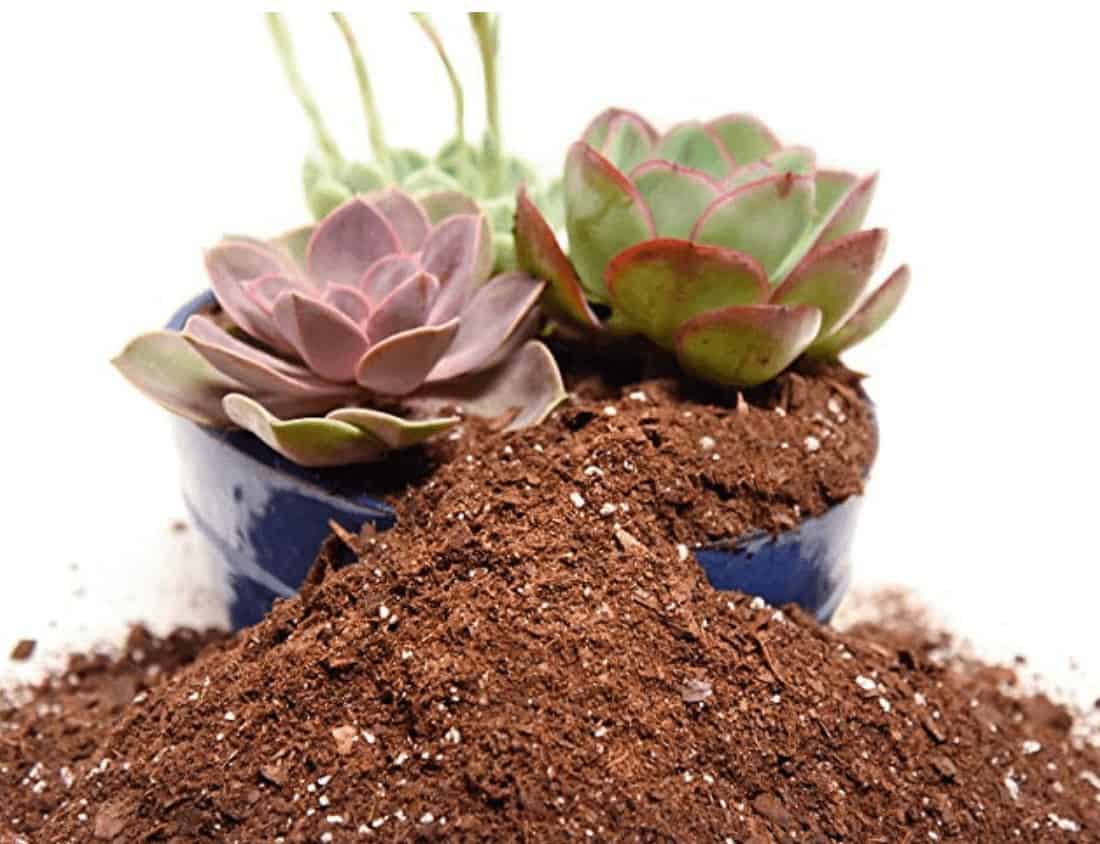
The Right Soil Is Important
Succulents don’t like moisture and shouldn’t be sitting in water for long periods of time. That’s why porous, loose, and grainy soil with great draining properties is the ideal setting for them. When planted outside, they usually won’t need fertilizer, but it’s good to add a bit of water-soluble fertilizer to an indoor potter succulent.
Water Sparingly
If you’re a bit forgetful about watering your plants, every succulent in your home will love that. The frequency of watering will depend on the soil and type of succulent, but it’s always best to let them dry completely between waterings. They prefer to be underwatered than overwatered.